DIY Hardware Installation: A Step-by-Step Guide
Al
Introduction to DIY Hardware Installation
Embarking on a DIY hardware installation project can be both exciting and rewarding. Whether you're a seasoned DIY enthusiast or a complete beginner, having the right guidance can make all the difference. This step-by-step guide will walk you through the essentials to ensure your hardware installation is a success.
Gathering Your Tools and Materials
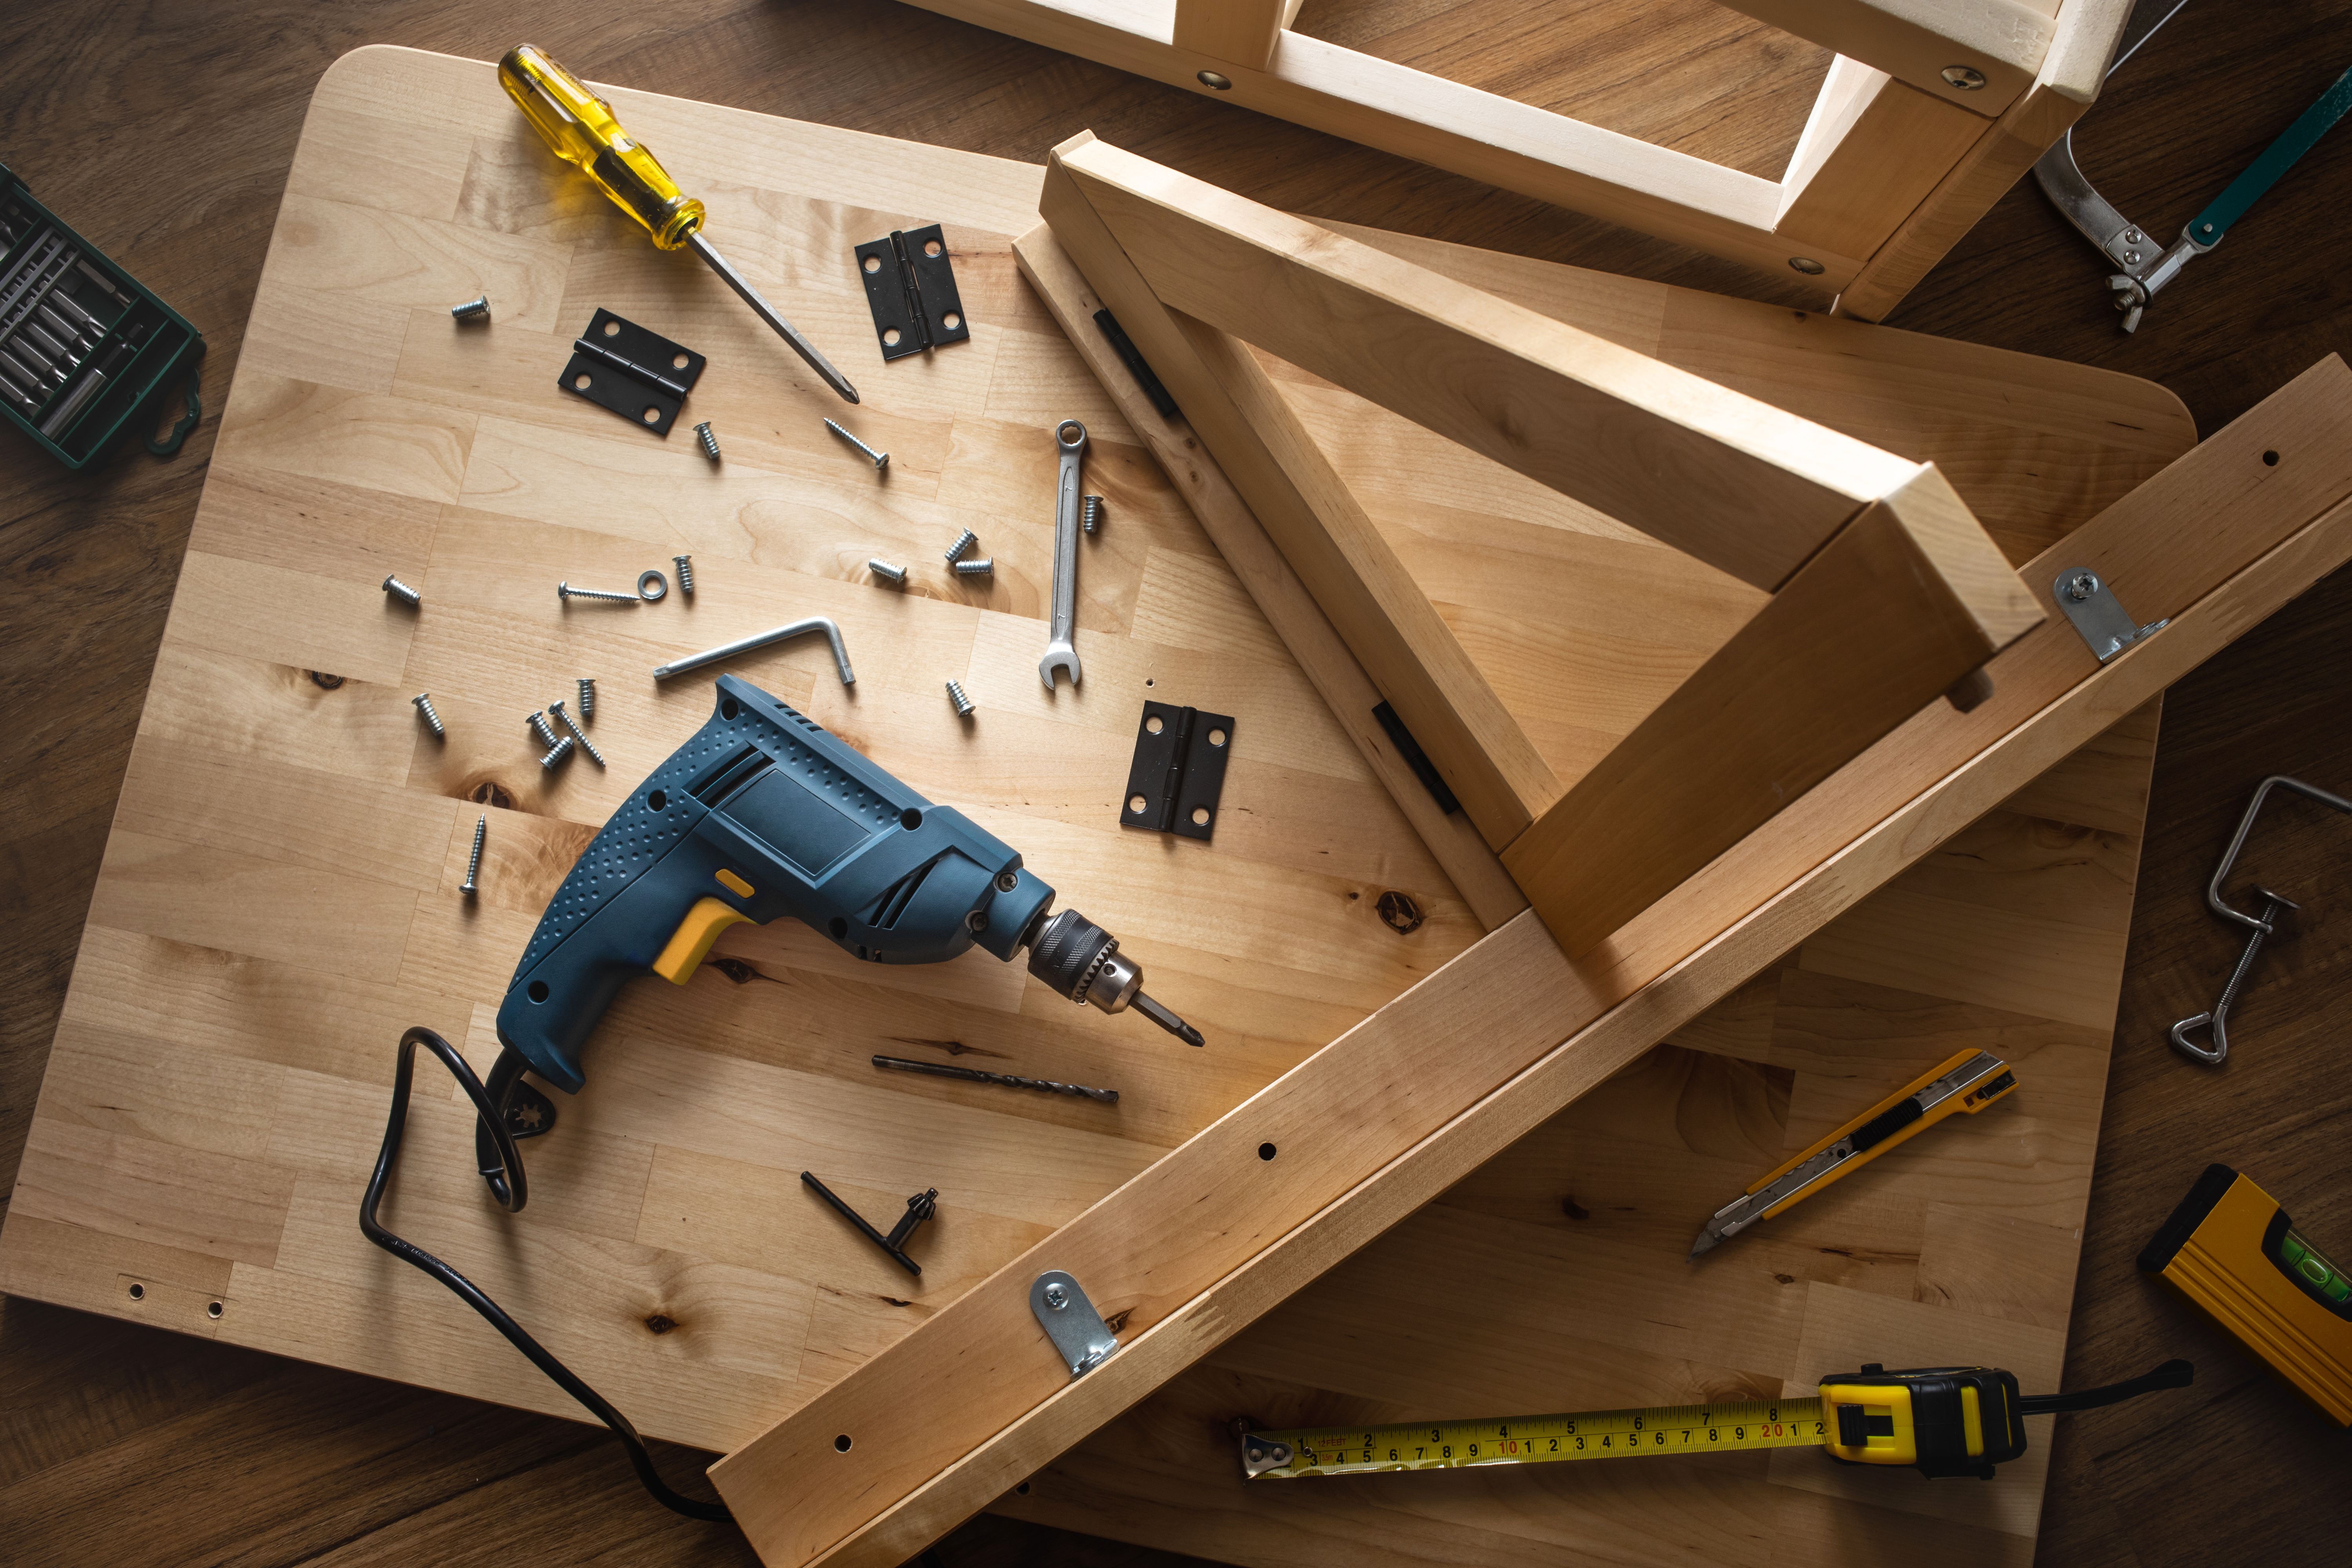
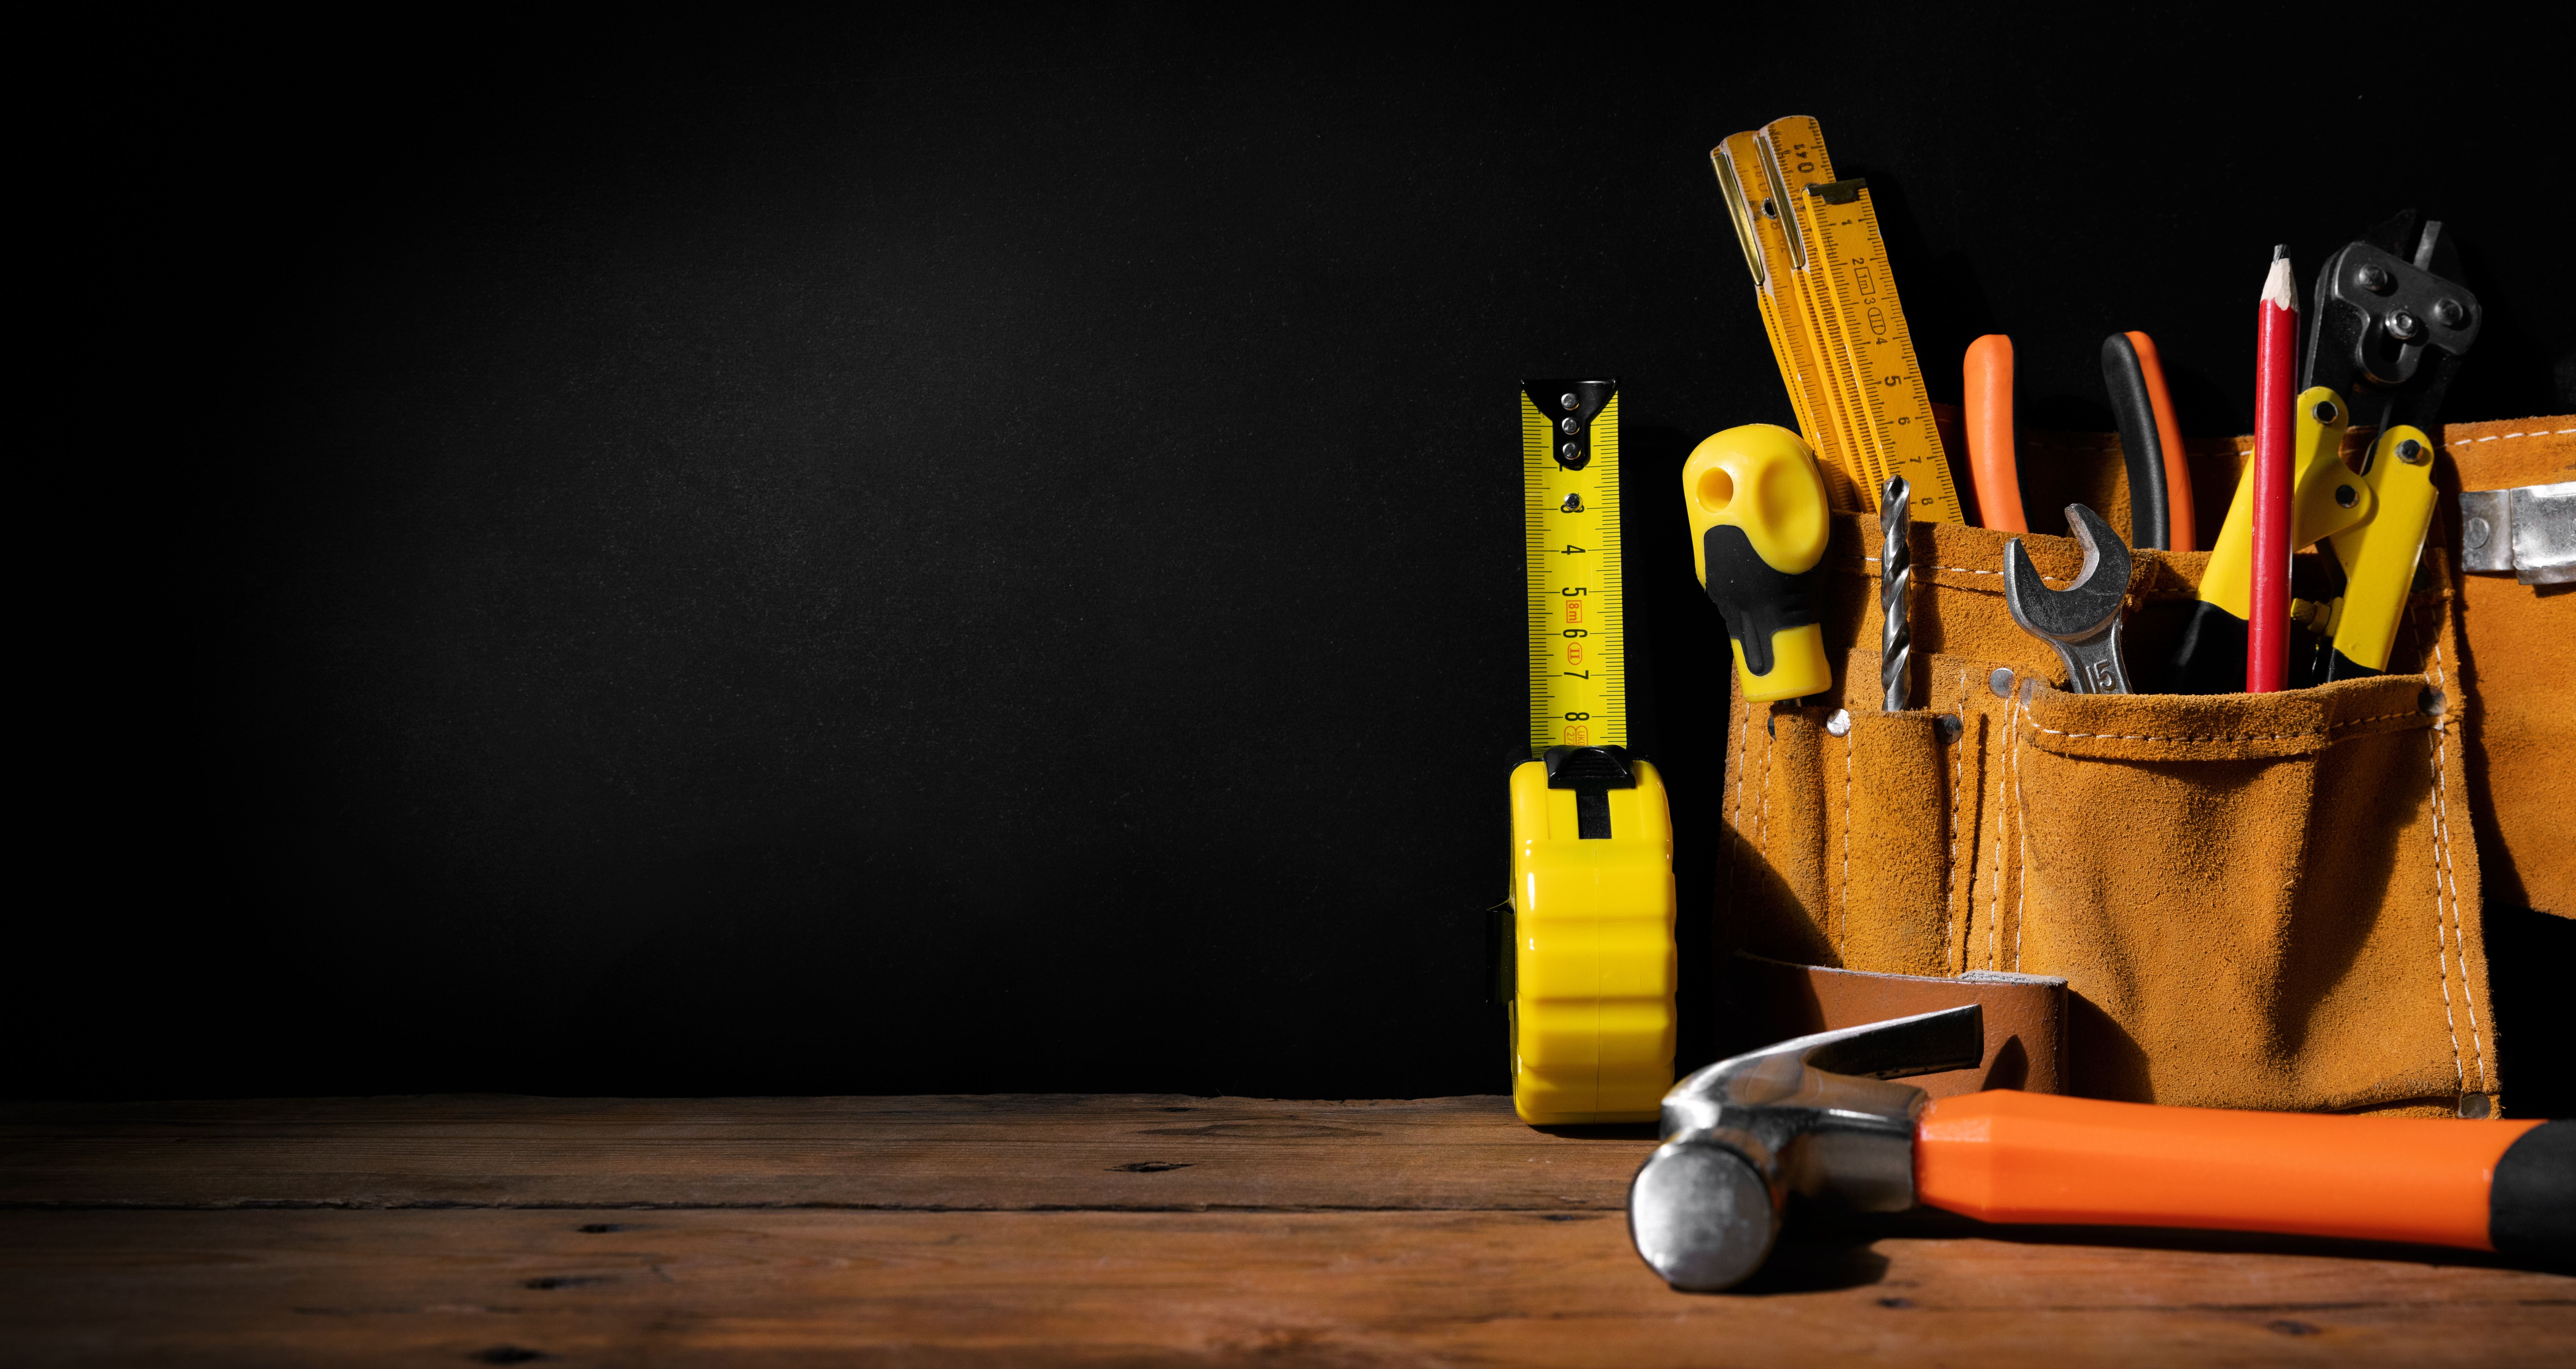
Before you start, it's important to gather all the necessary tools and materials. Having everything at your fingertips will streamline the process and prevent unnecessary interruptions. You'll typically need a screwdriver set, a measuring tape, a level, and the specific hardware you're installing.
Check the packaging of your hardware for any specialized tools that might be required. It's also a good idea to have a notepad to jot down any important measurements or notes during the installation.
Preparing the Installation Area
Preparation is key to a successful installation. Start by clearing the area where you’ll be working. Remove any obstacles and ensure the surface is clean. This helps avoid any alignment issues and ensures a seamless installation.
Use a level and a measuring tape to mark where the hardware will be installed. Accurate measurements prevent unnecessary adjustments later on, saving you both time and effort.
Step-by-Step Installation Process
Once everything is prepared, it's time to begin the installation. Follow these steps for a smooth process:
- Read the Instructions: Thoroughly read the installation manual provided with your hardware. This will familiarize you with any specific nuances.
- Position the Hardware: Use your markings to position the hardware correctly. Double-check alignment using your level.
- Secure the Hardware: Use the appropriate screws and anchors to secure the hardware in place. Ensure everything is tight and secure.
Take your time with each step to avoid mistakes that could lead to future problems.
Troubleshooting Common Issues
Even with careful planning, issues can arise. If you find that your hardware isn't aligning properly, check your initial measurements and make any necessary adjustments. Loose fittings can often be fixed by tightening screws or using additional anchors for support.
If you're having trouble with a specific part of the process, don't hesitate to consult online resources or forums where fellow DIY enthusiasts share solutions and advice.
Finishing Touches and Maintenance
Once your hardware is installed, step back and admire your work. It's essential to perform a final check to ensure everything is functioning as it should. Test any moving parts to verify they operate smoothly.
Regular maintenance will keep your hardware in top condition. Periodically check for any signs of wear or loosening, and address these issues promptly to extend the life of your installation.
Conclusion
DIY hardware installation is a fulfilling project that enhances your skills and improves your living space. With careful planning and execution, you can achieve professional results. Remember, practice makes perfect, and each project is a step towards mastering the art of DIY.