DIY Tips for Hardware Installation: A Step-by-Step Guide
Al
Preparing for Your DIY Hardware Installation
Embarking on a DIY hardware installation project can be both rewarding and cost-effective. Whether you're updating cabinet handles or installing a new door lock, having the right tools and knowledge is crucial. Start by gathering essential tools like a screwdriver, drill, and measuring tape. Make sure to read any instructions provided with your hardware to ensure a smooth installation process.
Before you begin, clear your workspace and organize your tools. This preparation will help you work more efficiently and reduce the chances of losing small pieces. Additionally, it's essential to ensure you have the right screws and fasteners for your project to avoid unnecessary trips to the hardware store.

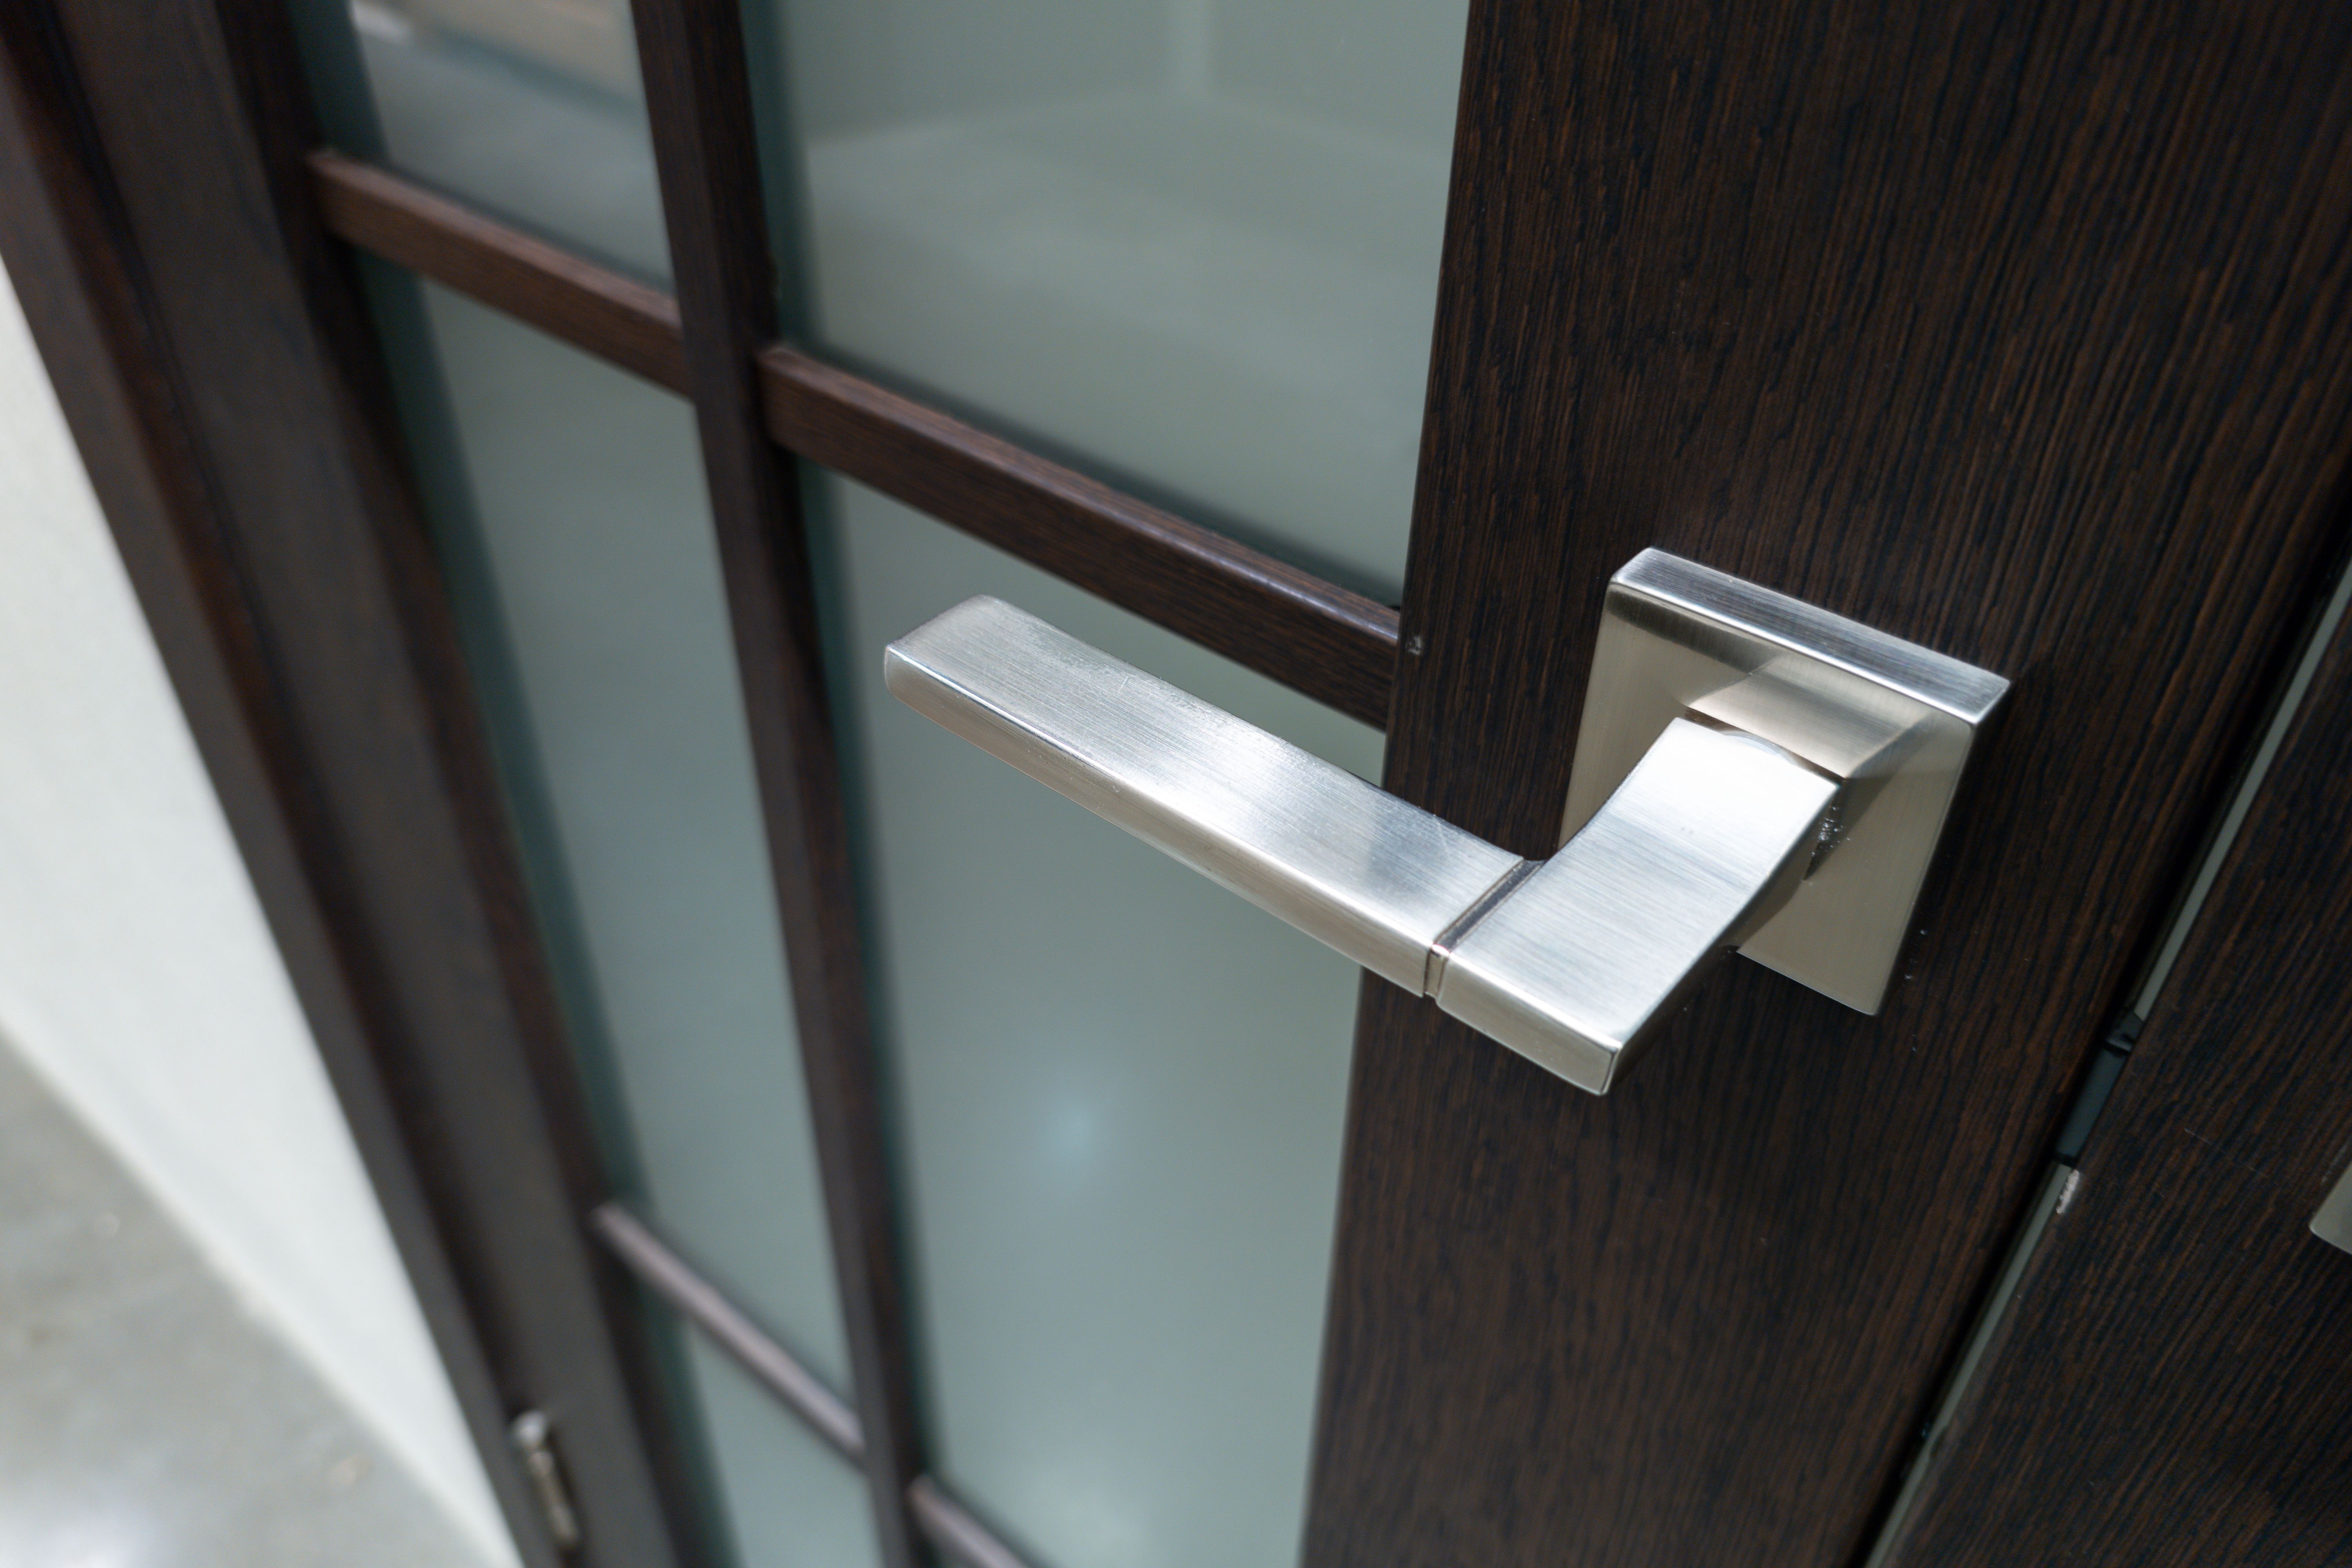
Understanding Your Hardware
Different projects require different types of hardware. Whether you're installing door handles, cabinet knobs, or curtain rods, understanding the hardware is key. Examine each piece and identify how they fit together. Knowing the function of each component will simplify the installation process.
Take note of any special features or requirements your hardware might have. For instance, some door handles may require specific alignment or additional support brackets. Familiarizing yourself with these details can prevent complications later on.
Measuring and Marking
Accurate measurements are fundamental to a successful installation. Use a measuring tape to determine the exact placement of your hardware. Mark the spots using a pencil to ensure precision. Proper alignment is crucial, especially for items like curtain rods or cabinet handles, where symmetry is visually important.
Double-check your measurements before drilling any holes. This extra step can save you from making irreversible mistakes and ensures a professional-looking finish.
Installation Process
With your measurements marked, it's time to begin the installation. Start by drilling pilot holes if necessary. These guide holes make it easier to insert screws and reduce the risk of splitting the material. Use the right drill bit size based on the screws you're using.
Next, attach the hardware using the screws and fasteners provided. Ensure each screw is tightened securely, but be careful not to over-tighten, as this can damage the hardware or material.

Finishing Touches
Once your hardware is installed, take a moment to inspect your work. Check for any misalignments or loose components and make adjustments as needed. Clean the area to remove any debris or pencil marks left from the installation process.
Consider adding a protective finish if necessary, such as a sealant or polish, to enhance the durability and appearance of your newly installed hardware.
Troubleshooting Common Issues
Even with careful preparation, you might encounter some issues during installation. Common problems include misaligned holes or stripped screws. If you face these challenges, don't panic. Realign the hardware and use larger screws if needed. For stripped screws, consider using a screw extractor tool.
Remember, patience and persistence are key. With practice, your skills and confidence in DIY hardware installation will improve, leading to successful projects and beautifully updated spaces.