Essential Tips for DIY Hardware Setup and Installation
Al
Planning Your Project
Before diving into any DIY hardware setup, it's crucial to start with a clear plan. Assess the scope of your project and gather all necessary tools and materials. This preparatory step ensures you won't face unexpected delays or surprises.
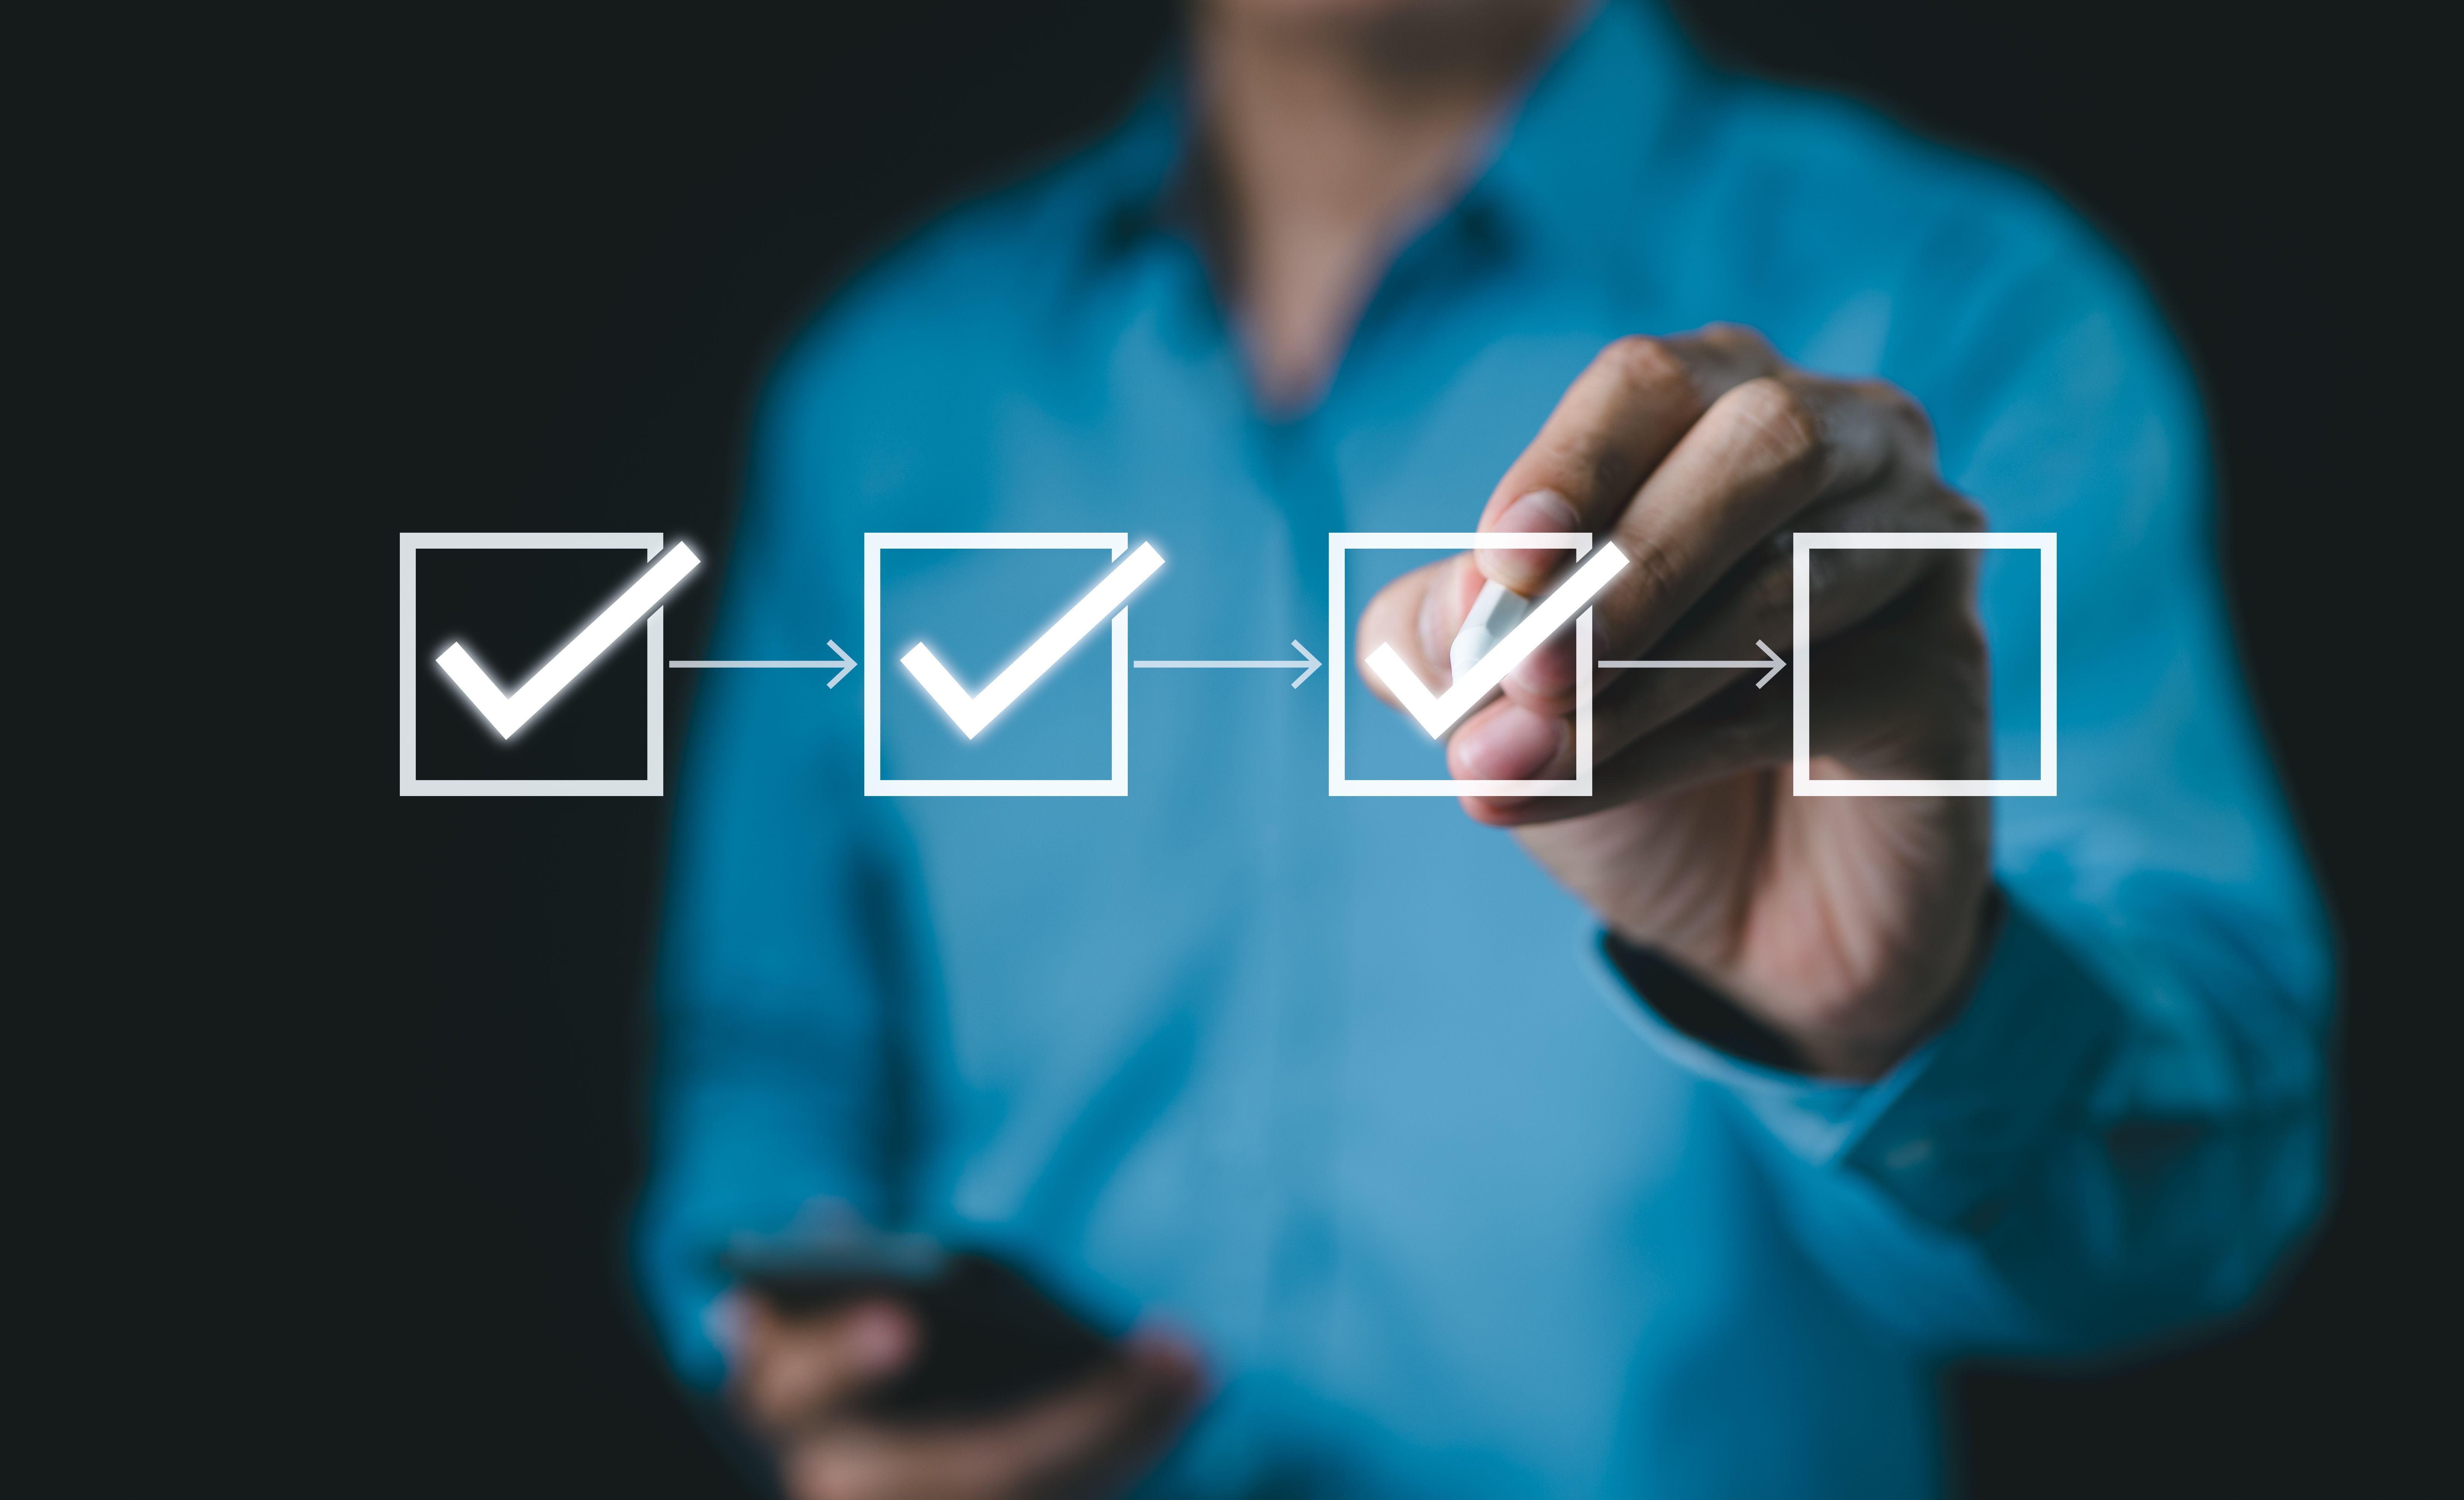
Consider creating a checklist of required items. This approach helps keep your project organized and ensures you have everything before you start. Planning reduces stress and increases the likelihood of a successful installation.

Choosing the Right Tools
The right tools can make or break your DIY project. Invest in quality tools that match the requirements of your hardware setup. Common tools include screwdrivers, a level, tape measure, and a drill. Ensure these tools are in good condition and appropriate for the task.
For those new to DIY projects, consider purchasing a basic toolkit that includes essential items. As you gain experience, you can expand your collection with more specialized tools.
Understanding the Instructions
Instructions are your best friend in any DIY project. Take the time to read and understand them fully before beginning your hardware installation. Look for diagrams or illustrations that provide visual guidance.
If the instructions are unclear, seek out online resources or tutorials. Many manufacturers offer video guides that can help clarify complex steps.

Safety First
Safety should always be a priority in any DIY project. Wear appropriate safety gear such as gloves, goggles, and masks when necessary. Ensure your workspace is well-lit and free of hazards.
Familiarize yourself with the safety features of any power tools you plan to use. Taking these precautions helps prevent accidents and injuries.
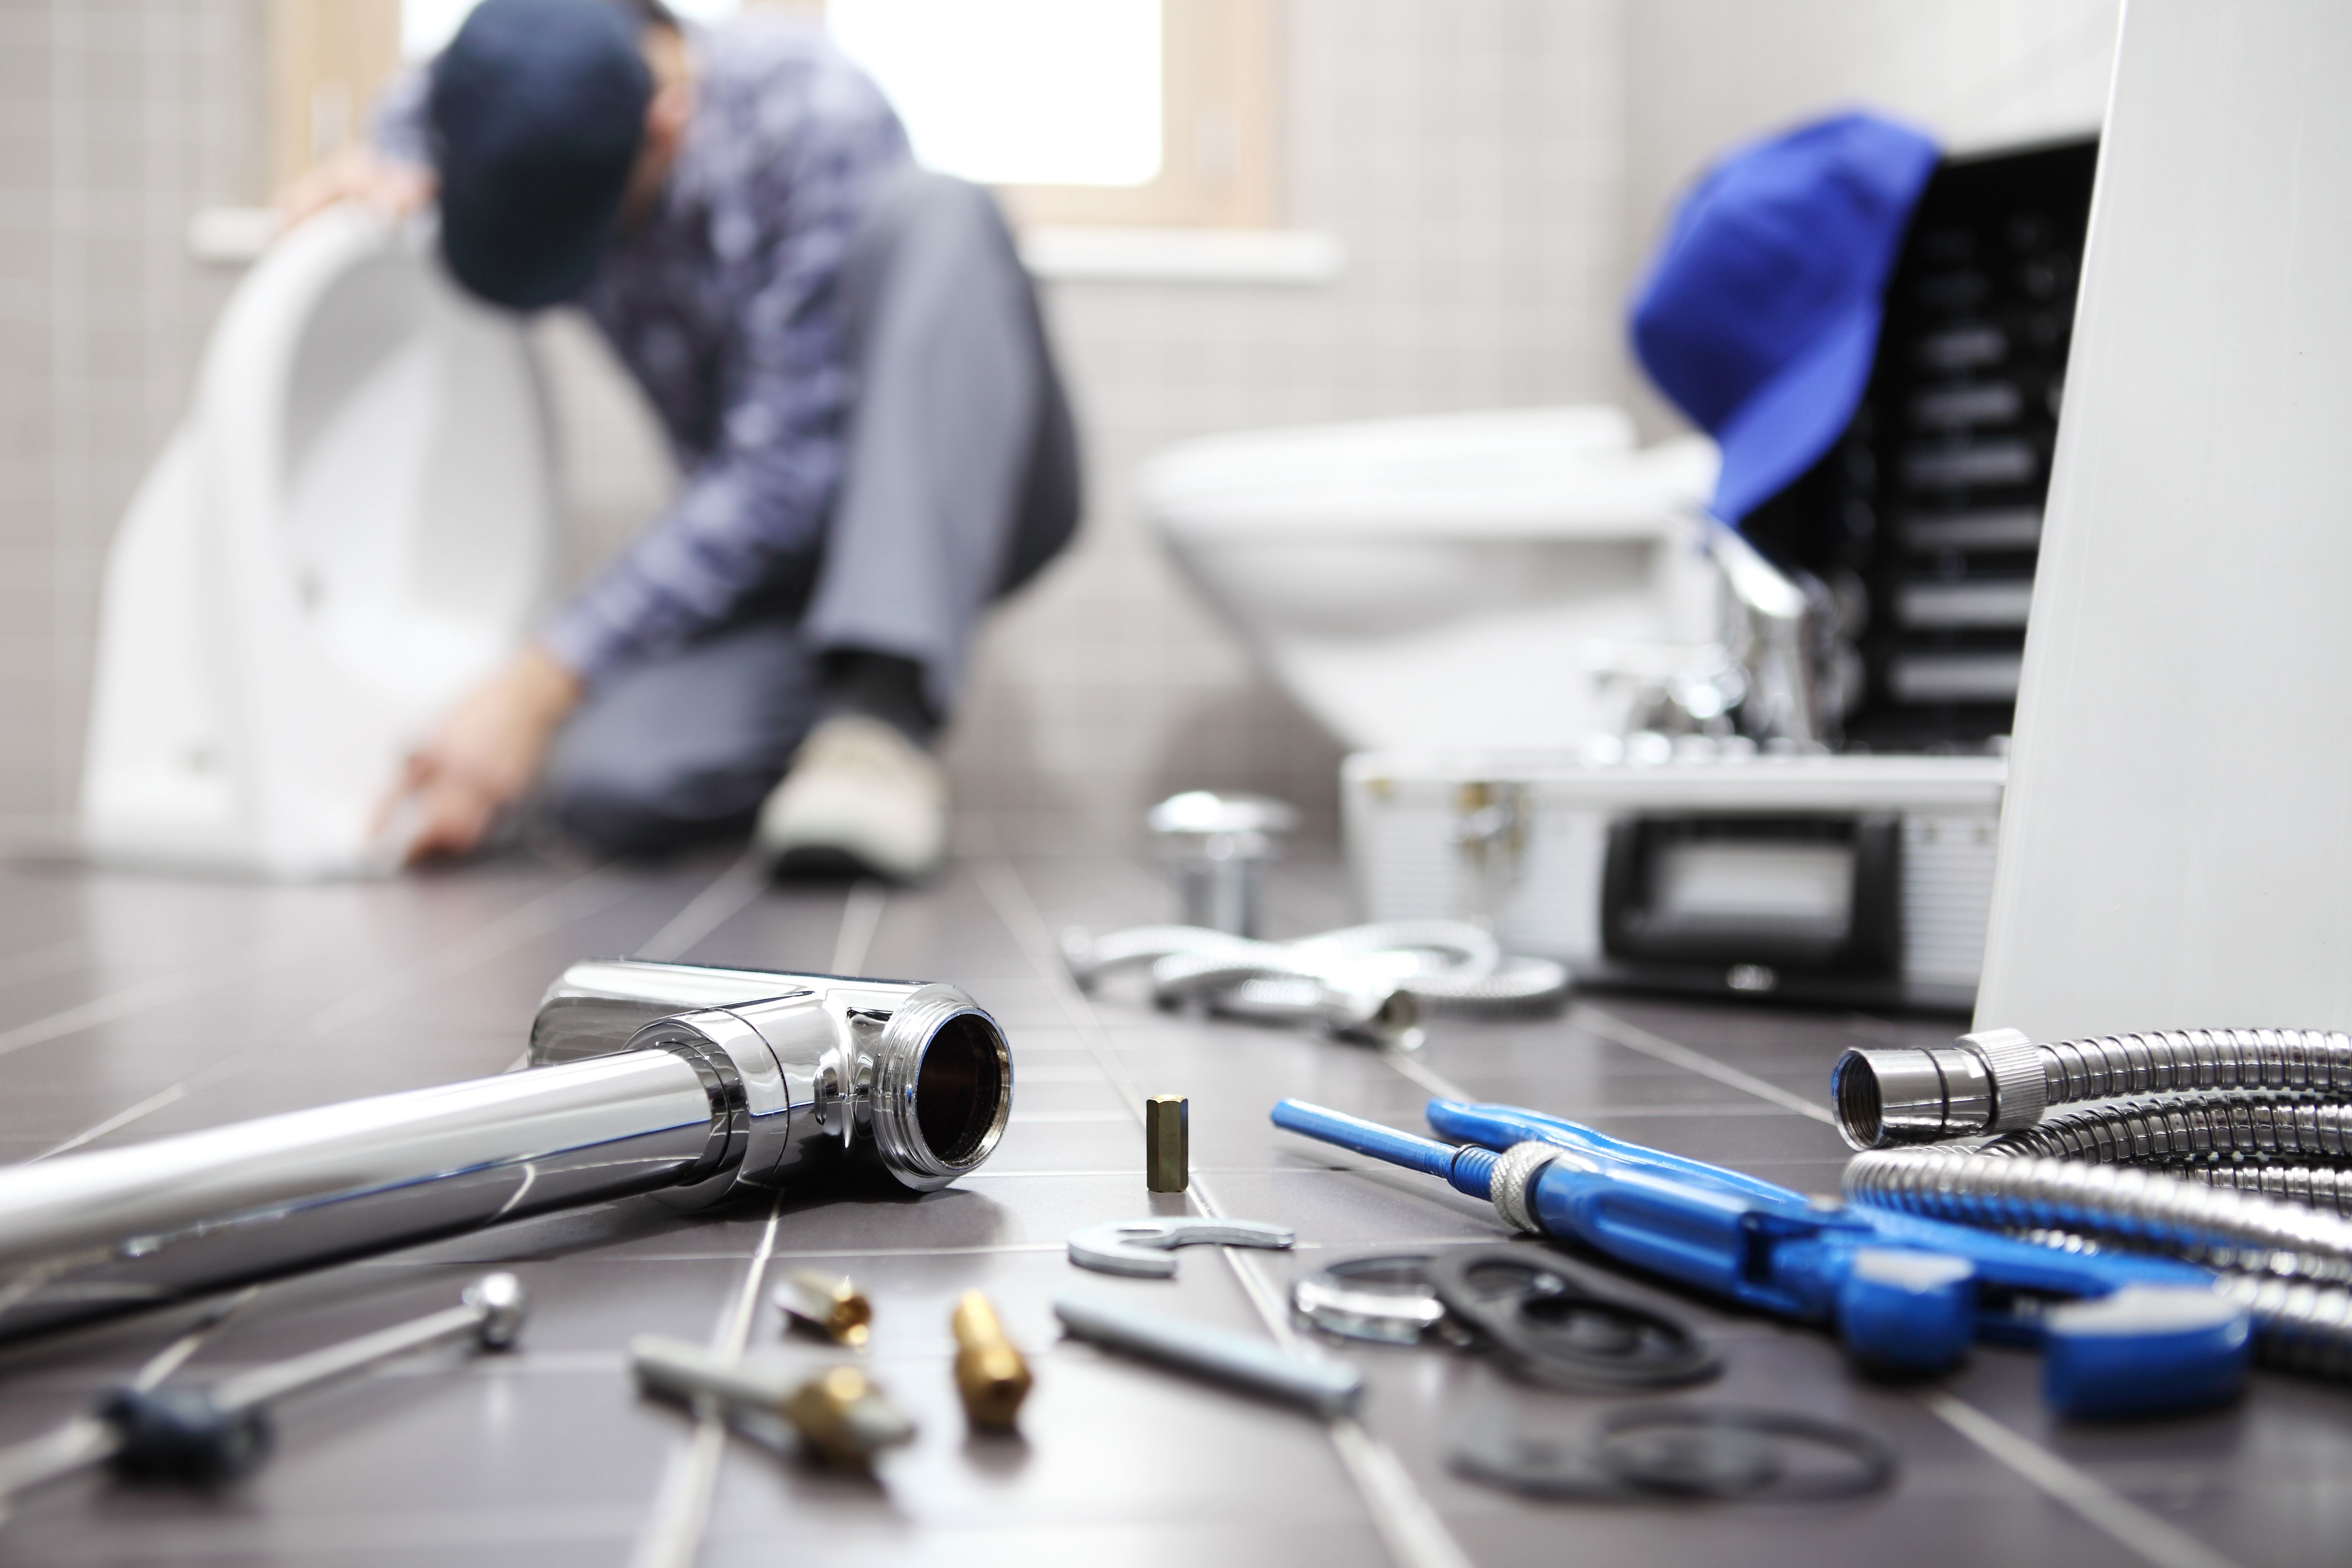
Installing Your Hardware
With preparation complete, it's time to install your hardware. Follow the instructions step-by-step, double-checking your work as you go. Patience is key; rushing can lead to mistakes.
Keep your tools organized and within reach to streamline the process. If you encounter difficulties, take a break and revisit the instructions or seek advice from DIY forums.
Testing and Troubleshooting
After installation, test your hardware to ensure it functions correctly. This step helps identify any issues before they become significant problems. Use the manufacturer's guidelines to verify proper operation.
If you encounter problems, troubleshoot by revisiting installation steps. Check for common issues such as loose connections or misaligned components.
Final Touches
Once testing is complete, add any final touches to your project. This could involve aesthetic adjustments or securing loose ends. These finishing touches help ensure your hardware setup looks and performs its best.
Consider documenting your process with photos or notes. This record can be invaluable for future reference or sharing your project with others.
Conclusion
DIY hardware setup and installation can be a rewarding experience when approached with preparation and care. By following these essential tips, you'll be well-equipped to tackle your project confidently and safely.
Remember, every successful DIY project is a learning opportunity that enhances your skills and knowledge for the future.