Understanding the Basics of Hardware Installation: A Beginner's Guide
Al
Introduction to Hardware Installation
Whether you're setting up a new computer or upgrading your existing system, understanding the basics of hardware installation is essential. This guide is designed to help beginners navigate the process with ease. From gathering the right tools to ensuring compatibility, we've got you covered.
Hardware installation might seem daunting at first, but with a little patience and the right knowledge, it can become a straightforward task. Let's dive into the fundamental aspects you need to consider before getting started.
Preparing for Installation
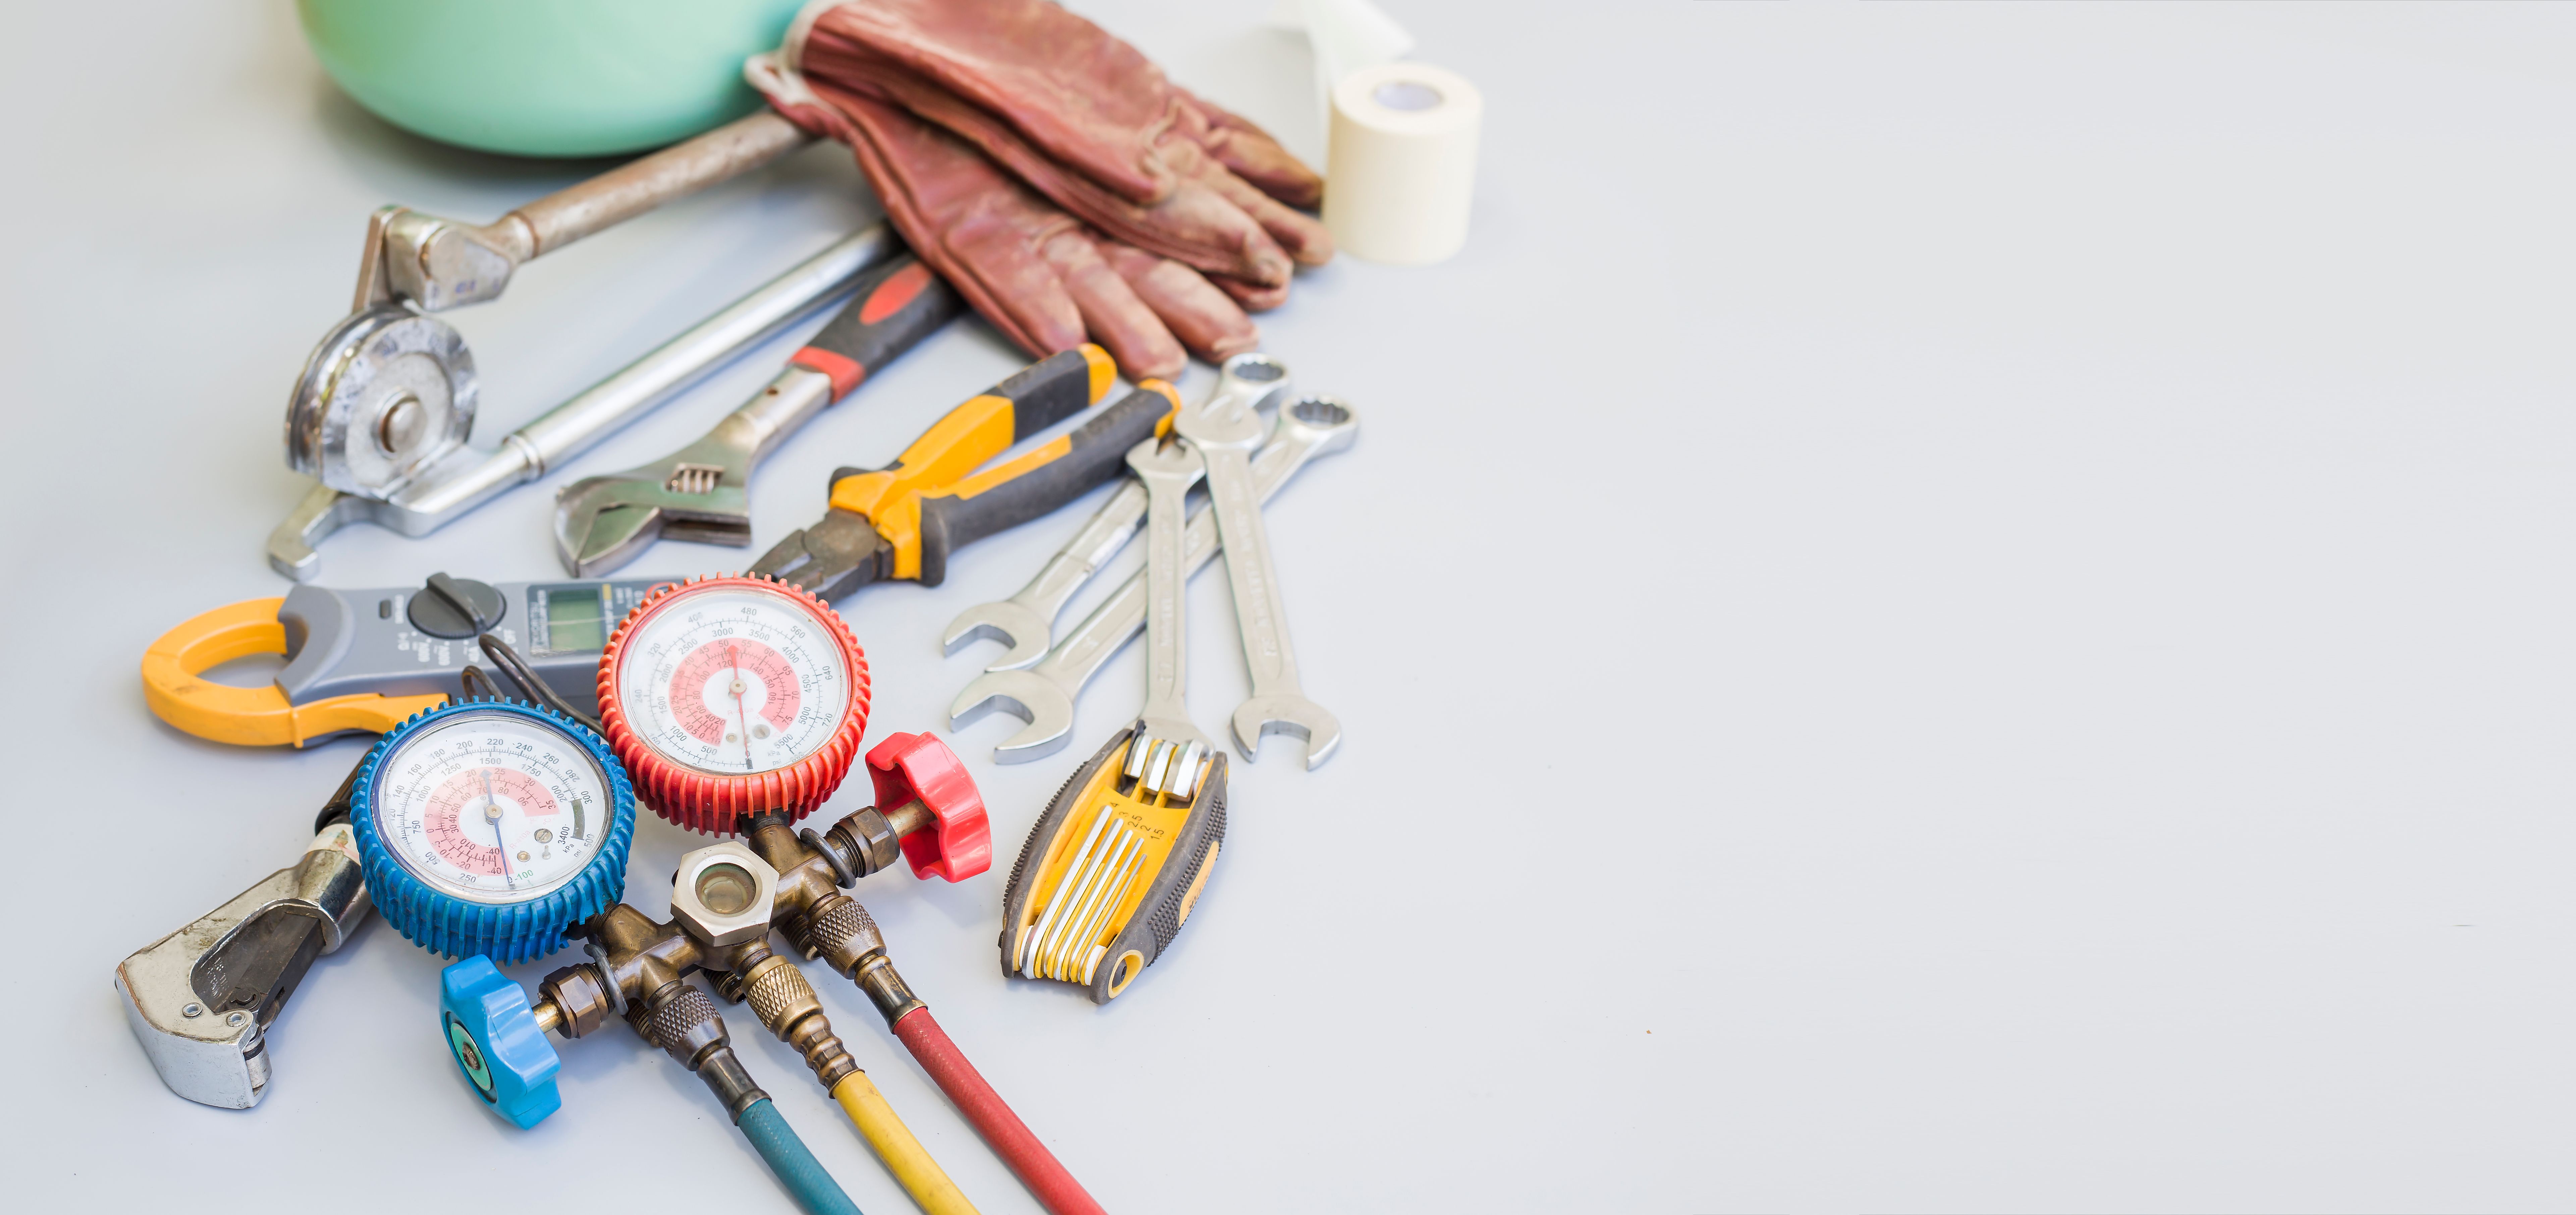
Gathering the Necessary Tools
Before you begin, make sure you have all the necessary tools at hand. Typically, you'll need a screwdriver, preferably magnetic, to handle screws securely. Additionally, having an anti-static wrist strap can prevent damage from static electricity.
It's also helpful to have a clean and spacious workspace. Organize small parts in containers to avoid losing them during the installation process. Being prepared will save you time and reduce frustration.
Ensuring Compatibility
One of the most crucial steps in hardware installation is ensuring that the components you plan to install are compatible with your system. Check specifications such as motherboard socket type, RAM compatibility, and power supply requirements.
Researching and double-checking compatibility can prevent common issues like mismatched parts or insufficient power supply, which could hinder your installation process.
Step-by-Step Installation Process
Installing the CPU
The CPU is often referred to as the brain of your computer. To install it, first unlock the CPU socket lever on the motherboard, align the CPU correctly, and gently place it into the socket. Once in place, lock the lever back down.
Be careful not to apply too much pressure or touch the pins on the CPU, as they are delicate and can be easily damaged.
Mounting RAM Modules
Installing RAM is relatively simple. Locate the RAM slots on your motherboard, open the retaining clips, and align the notch on the RAM module with the slot. Insert firmly until you hear a click, indicating it is securely in place.
If your system has dual-channel support, refer to your motherboard's manual for optimal slot placement to ensure maximum performance.
Finalizing and Testing Your Setup
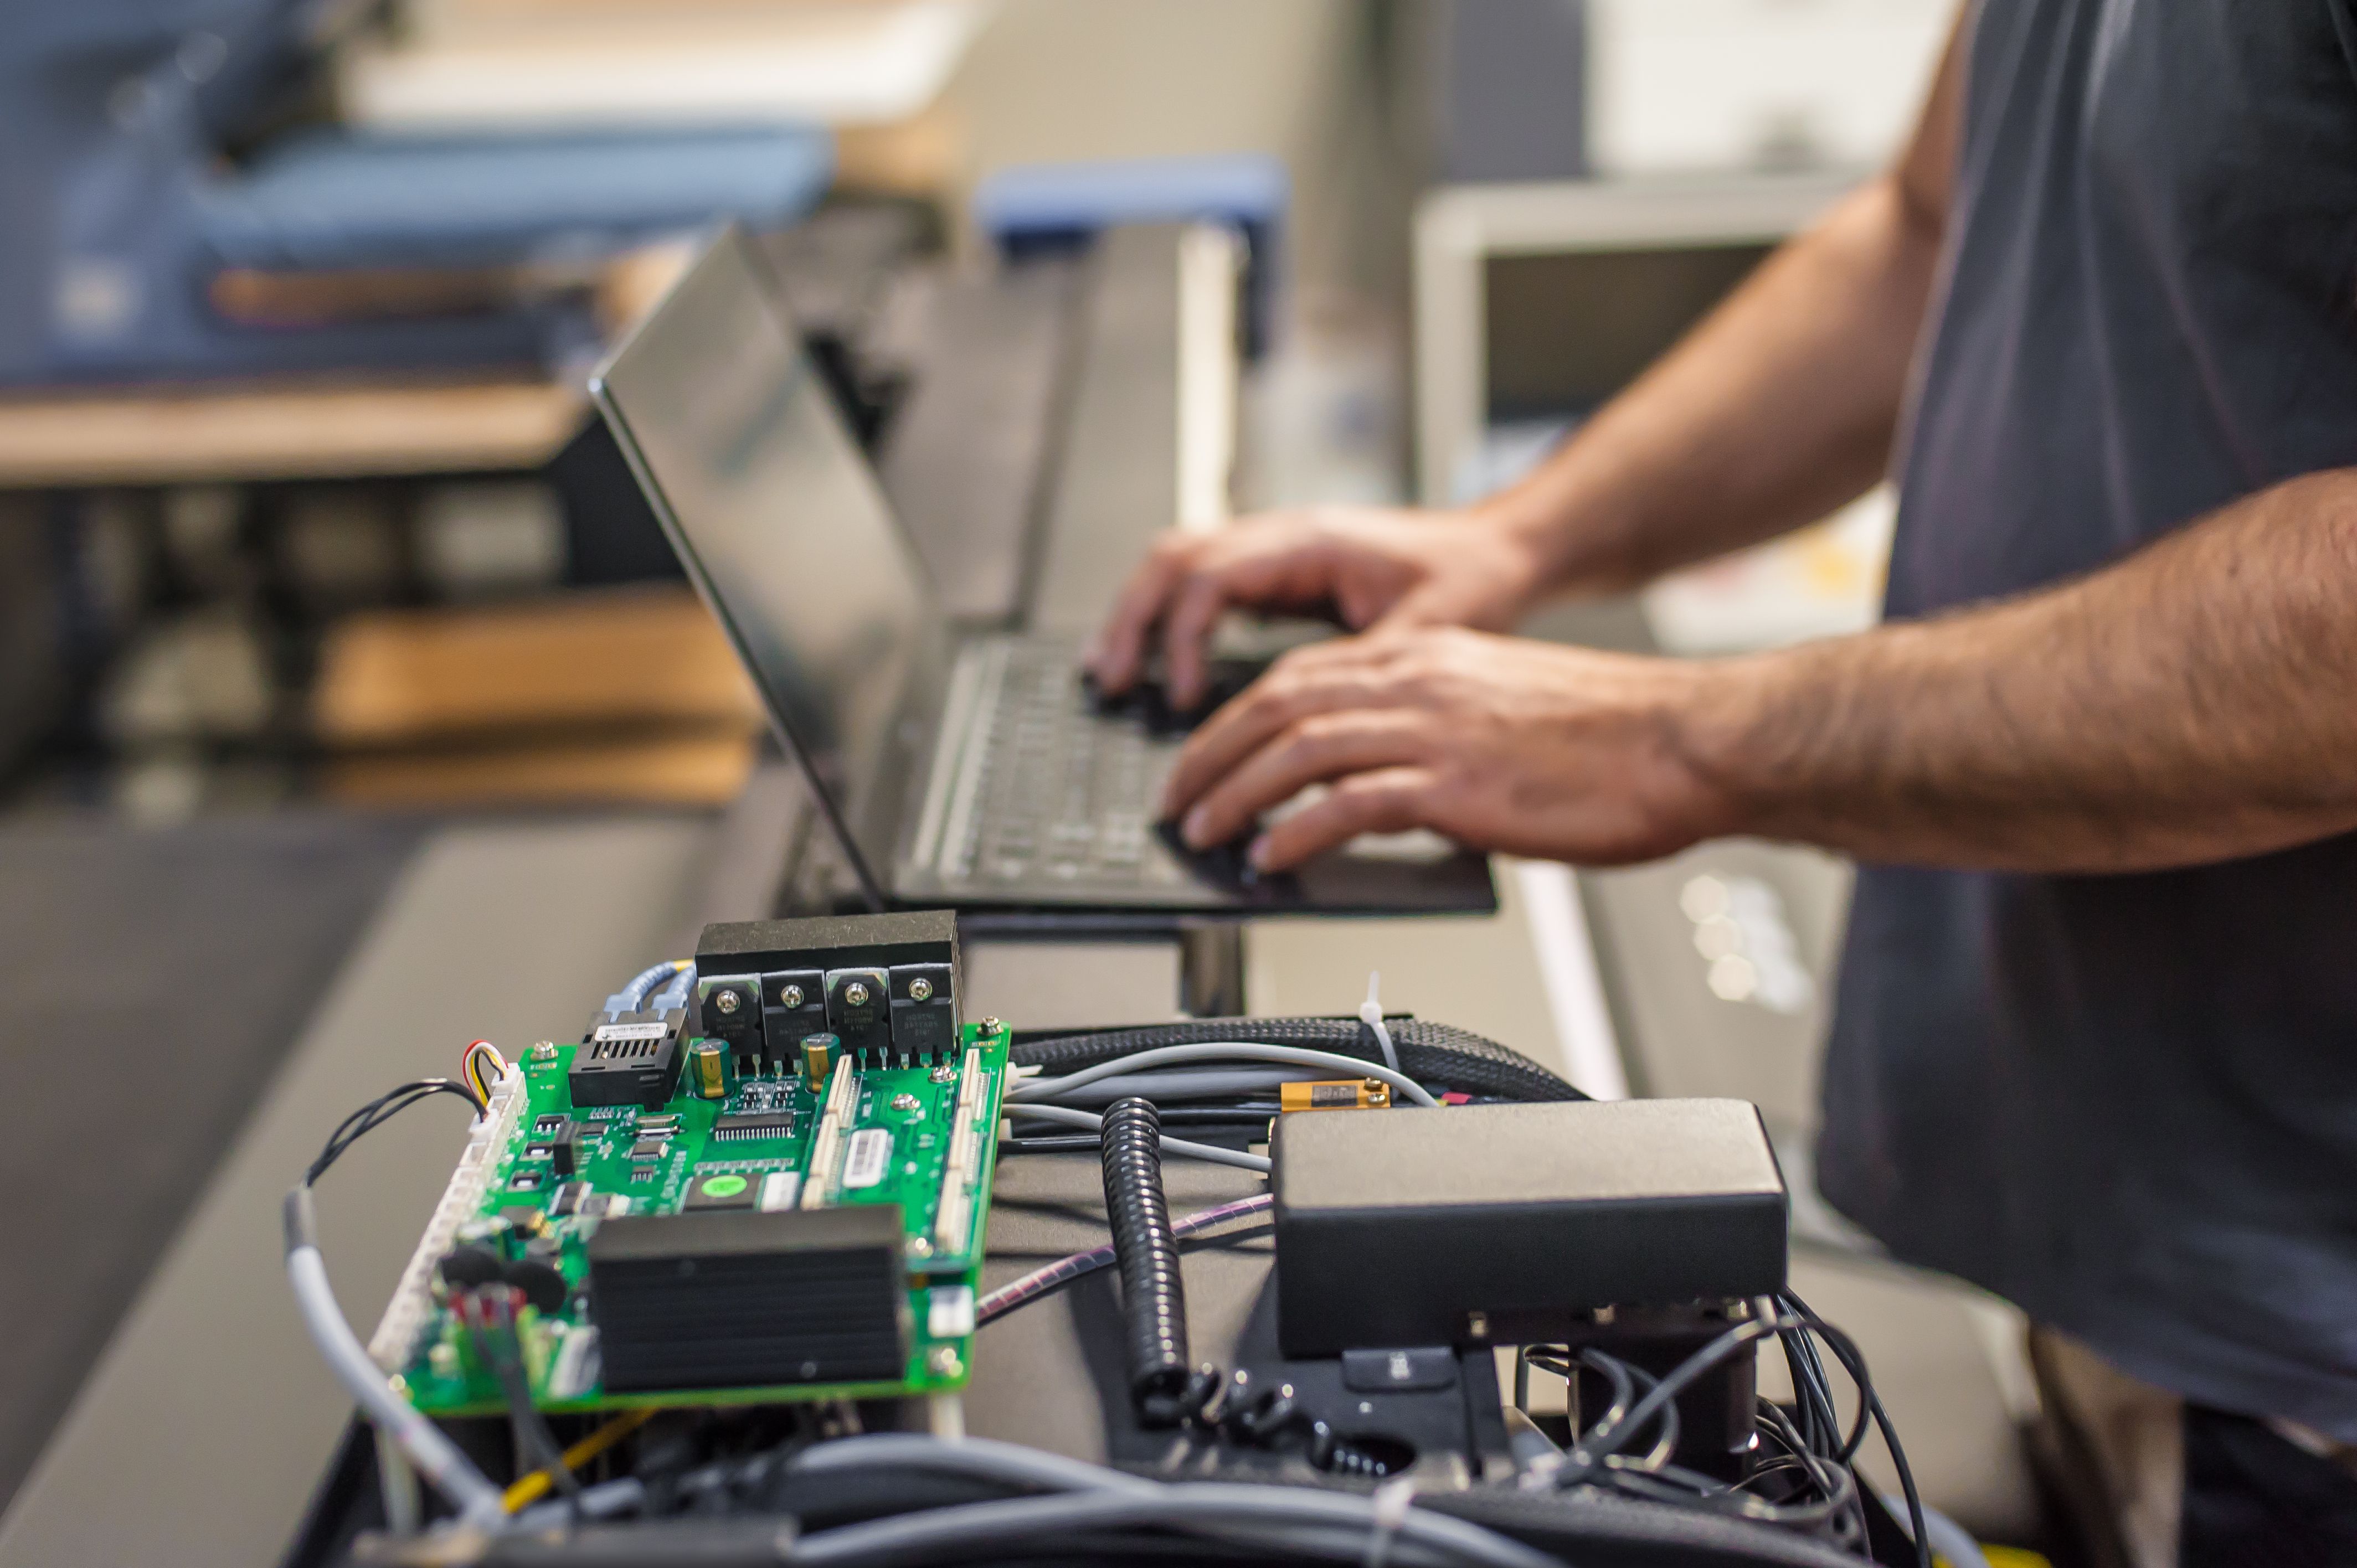
Connecting Power Supply Cables
The power supply unit (PSU) is responsible for delivering power to all components. Connect the main power cable to the motherboard and ensure all peripheral cables are connected as needed. Double-check all connections for security.
A well-organized cable management system not only looks neat but also helps with airflow within the case, preventing overheating issues.
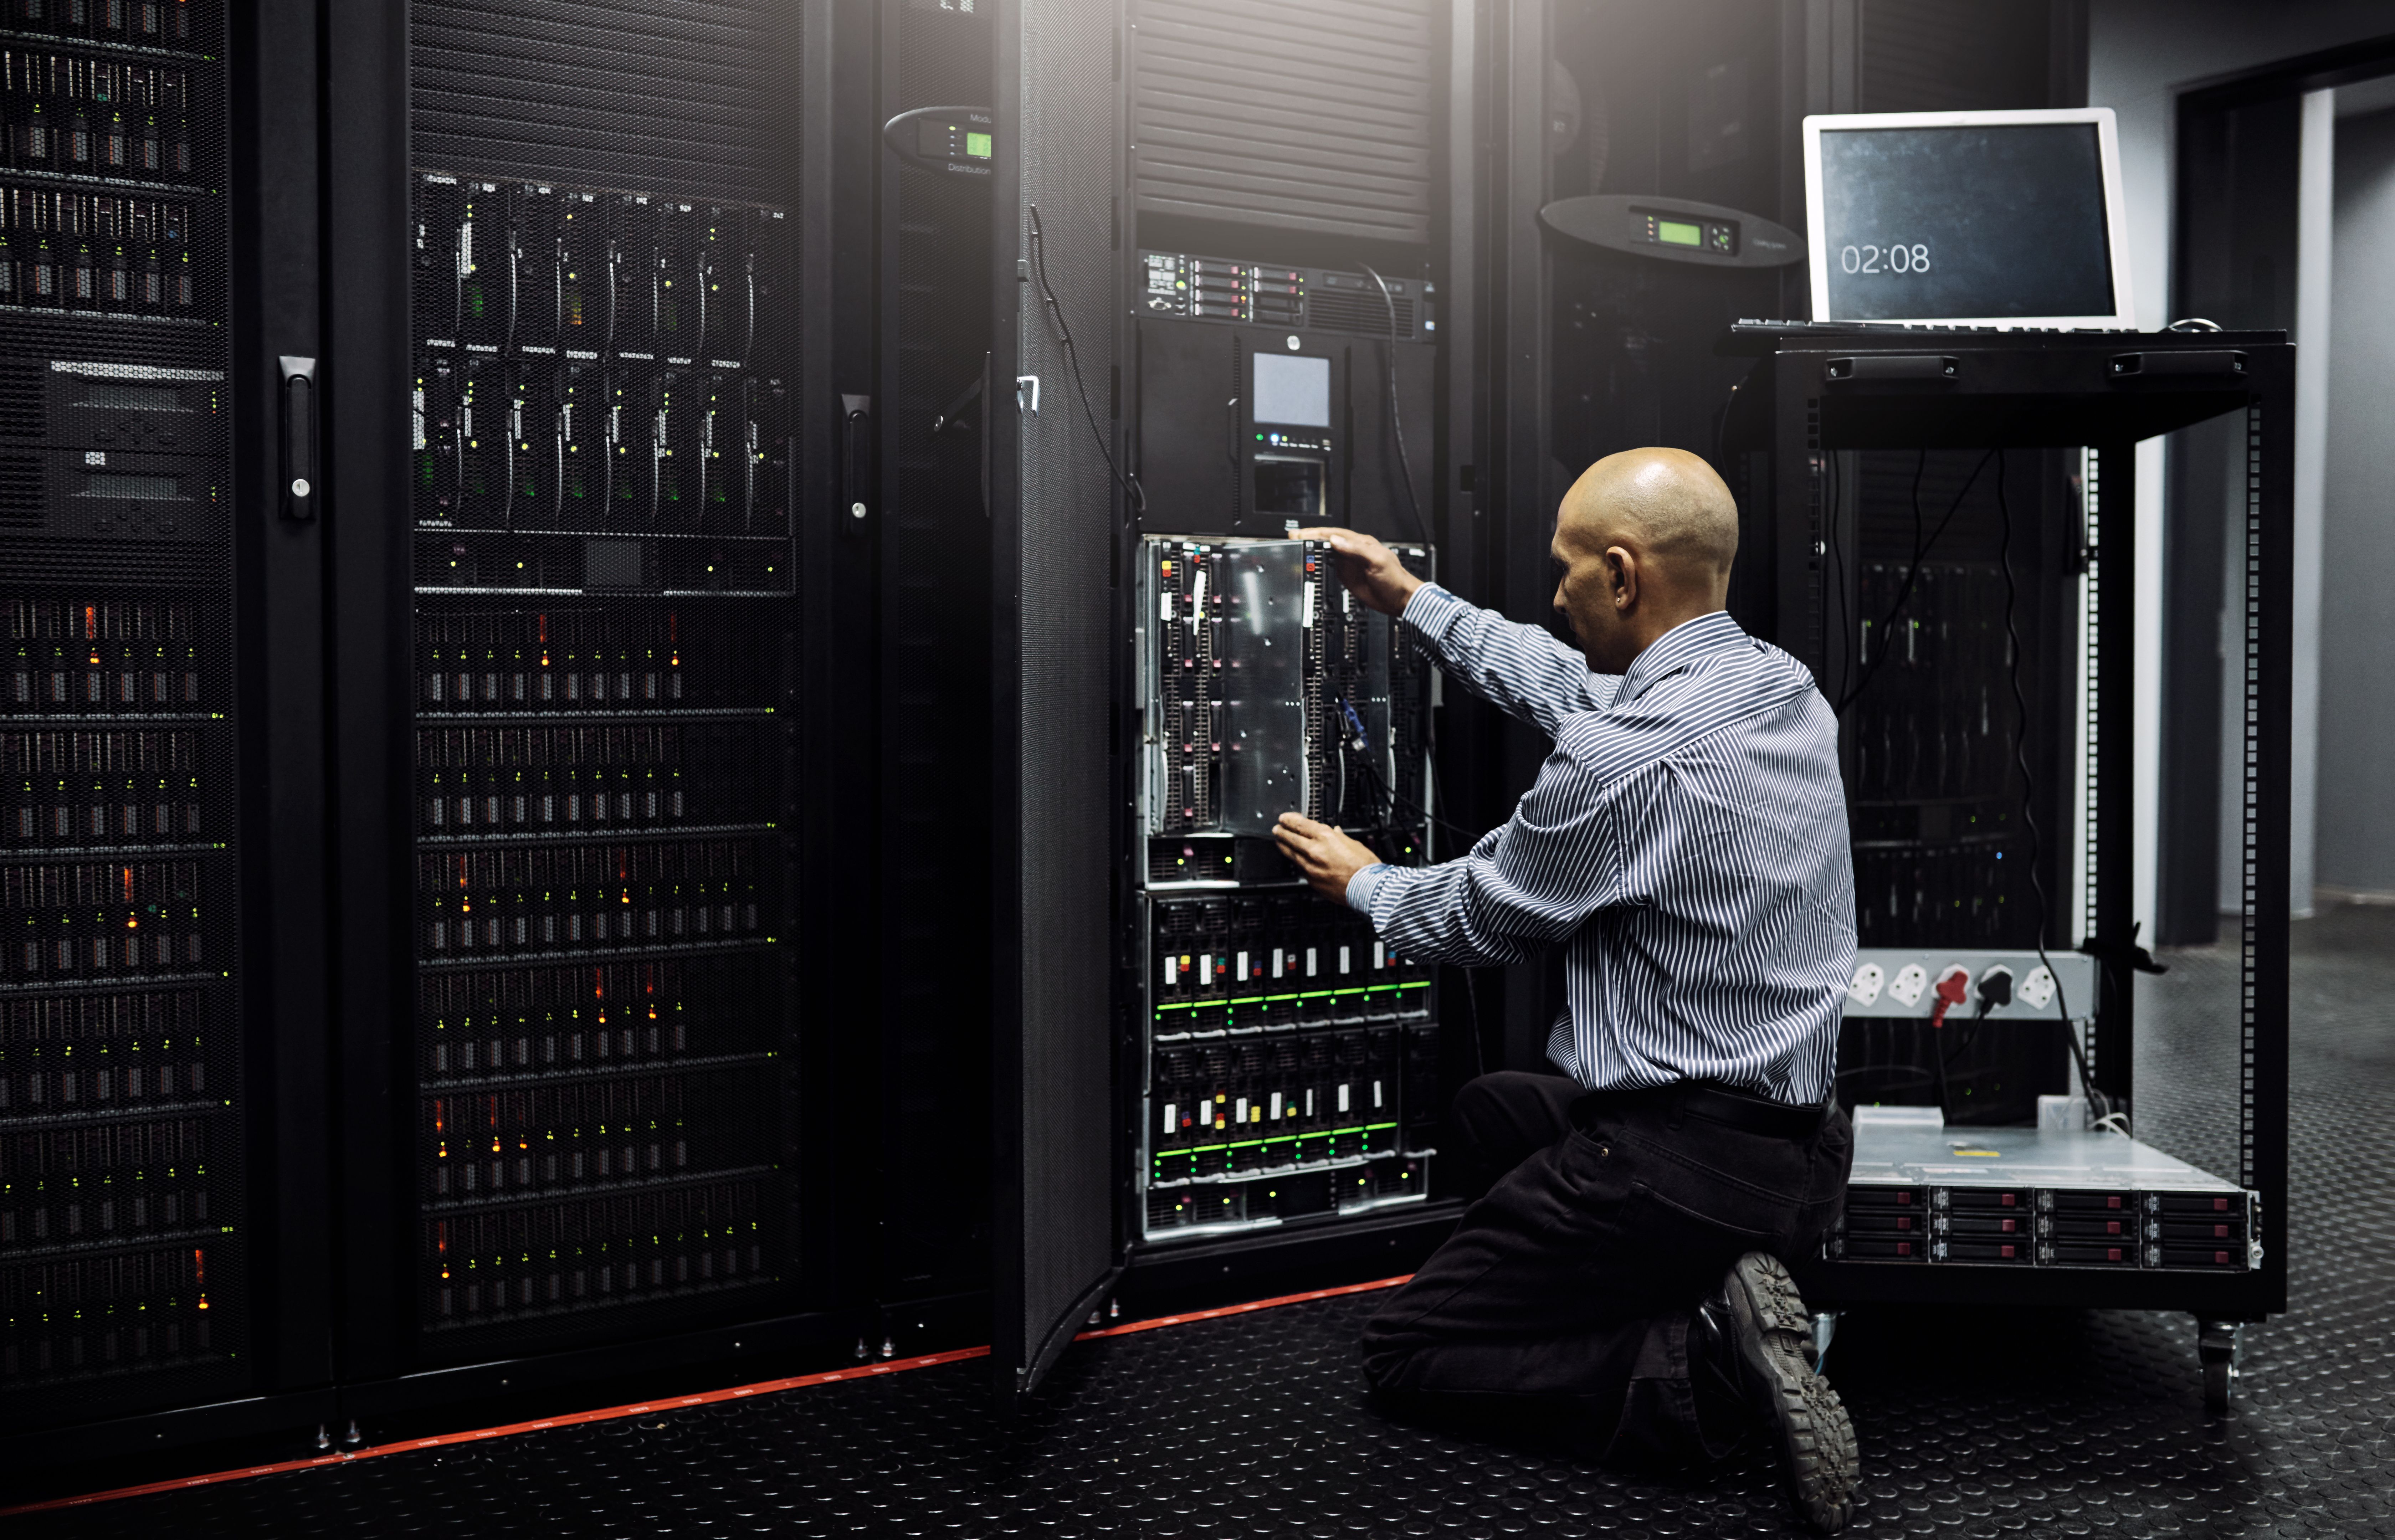
Testing Your Installation
Once everything is installed and connected, it's time to test your setup. Connect your system to a monitor and power it on. If all components are functioning correctly, you should see the BIOS screen appear.
If the system doesn't boot, recheck connections and ensure all components are seated properly. Troubleshooting any issues early can save you time and effort later on.
Conclusion
Understanding and mastering hardware installation is a valuable skill that can enhance your computing experience. By following this beginner's guide, you're now equipped with the basic knowledge needed to tackle hardware installations with confidence.
Remember that practice makes perfect. With each installation, you'll become more familiar with the process, making future upgrades or builds even easier.